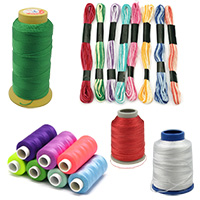
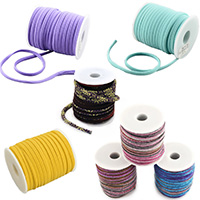
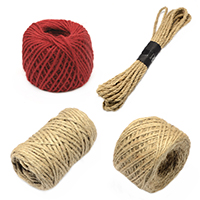
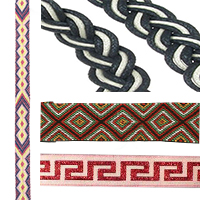
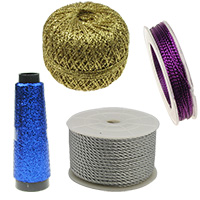
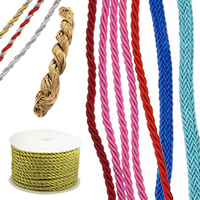
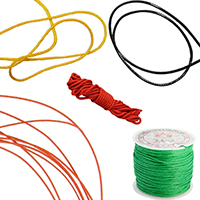
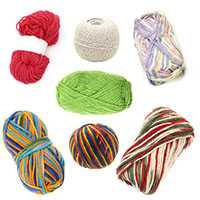
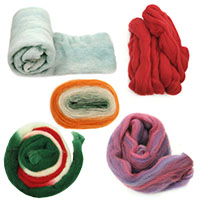
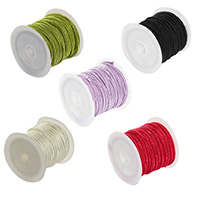
Cords, Yarns & Threads for Jewelry making, DIY Crafts, Knitting

Yarn POP ART / 20% Soft Wool, 80% Acrylic, Multicolored, 200 meters - 100 grams

Yarn Polychrome / 100% Acrylic, Multicolored, 360 meters - 100 grams

Yarn POP ART / 20% Soft Wool, 80% Acrylic, Dark Multicolored, 200 meters - 100 grams

Yarn Polychrome / 100% Acrylic, Multicolored Parrot, 360 meters - 100 grams

Polyester Cord with Plastic Cord Base, 0.8 mm, Sky Blue ~ 56 meters

Yarn Ribbon (100% Polypropylene), Color: Dark Petroleum - 110 meters - 250 grams

100% Wool Felt Strip, 1500 mm, Extra Quality, White - 50 grams

Mercerized Thread 100% Cotton, 20 Tex x 2, Blue Color - 1000 meters

Mercerized Thread 100% Cotton, 20 Tex x 2, Dark Purple Color - 1000 meters

Mercerized Thread 100% Cotton, 20 Tex x 2, Lavender Color - 1000 meters

Mercerized Thread 100% Cotton, 20 Tex x 2, Dark Brown Color - 1000 meters

Mercerized Thread 100% Cotton, 20 Tex x 2, Brown Color - 1000 meters

Mercerized Thread 100% Cotton, 20 Tex x 2, Light Brown Color - 1000 meters

Mercerized Thread 100% Cotton, 20 Tex x 2, Dark Green Color - 1000 meters

Mercerized Thread 100% Cotton, 20 Tex x 2, Green Color - 1000 meters

Mercerized Thread 100% Cotton, 20 Tex x 2, Light Green Color - 1000 meters

Mercerized Thread 100% Cotton, 20 Tex x 2, Dark Blue Color - 1000 meters

Mercerized Thread 100% Cotton, 20 Tex x 2, Turquoise Color - 1000 meters

Mercerized Thread 100% Cotton, 20 Tex x 2, Blue Color - 1000 meters

Mercerized Thread 100% Cotton, 20 Tex x 2, Pale Blue Color - 1000 meters

Mercerized Thread 100% Cotton, 20 Tex x 2, Light Blue Color - 1000 meters

Mercerized Thread 100% Cotton, 20 Tex x 2, Cyclamen Color - 1000 meters

Mercerized Thread 100% Cotton, 20 Tex x 2, Pink Color - 1000 meters

Mercerized Thread 100% Cotton, 20 Tex x 2, Pink Color - 1000 meters

Mercerized Thread 100% Cotton, 20 Tex x 2, Light Purple Color - 1000 meters

Mercerized Thread 100% Cotton, 20 Tex x 2, Dark Orange Color - 1000 meters

Mercerized Thread 100% Cotton, 20 Tex x 2, MIX Color - 1000 meters

Mercerized Thread 100% Cotton, 20 Tex x 2, Dark Pink Color - 1000 meters

Mercerized Thread 100% Cotton, 20 Tex x 2, Orange Color - 1000 meters

Mercerized Thread 100% Cotton, 20 Tex x 2, Light Yellow Color - 1000 meters

Mercerized Thread 100% Cotton, 20 Tex x 2, Purple Color - 1000 meters

Mercerized Thread 100% Cotton, 20 Tex x 2, Yellow Color - 1000 meters

Mercerized Thread 100% Cotton, 20 Tex x 2, Rose Ash Color - 1000 meters

Mercerized Thread 100% Cotton, 20 Tex x 2, Dark Yellow Color - 1000 meters
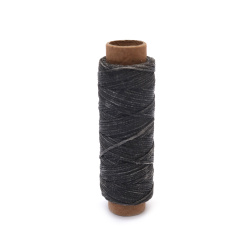
Waxed Thread 0.8 mm / Dark Gray - 50 meters
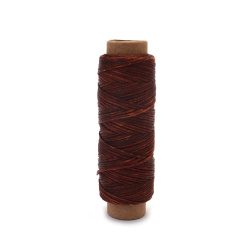
Waxed Thread 0.8 mm / Coffee - 50 meters
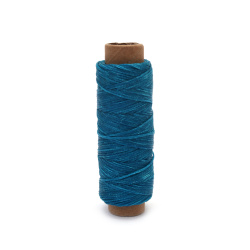
Waxed Thread 0.8 mm / Blue - 50 meters
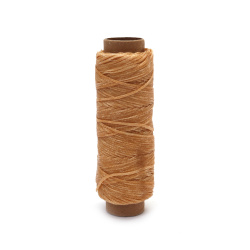
Wax Thread 0.8 mm / Ocher - 50 meters
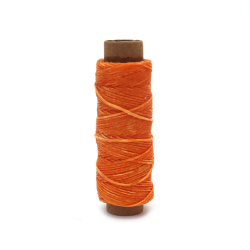
Waxed Thread 0.8 mm / Orange - 50 meters
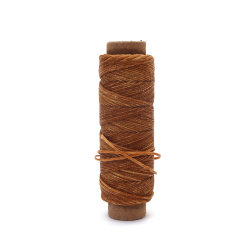
Waxed Thread 0.8 mm / Light Brown - 50 meters
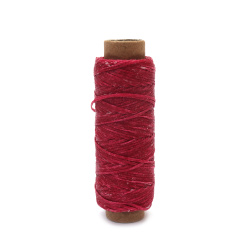
Waxed Thread 0.8 mm / Burgundy - 50 meters
STAR IDEAS WITH CORDS AND YARNS FROM EM ART
If someone asks you to draw their portrait or a landscape, what’s the first thing you would reach for? Pastels? Colored pencils? Markers? Chalk? Watercolors? These are probably some of the drawing tools you always use. But what about yarn and a needle?
Yes, you can draw with them too! Drawing with threads or yarn can take many different forms and results in truly unique and beautiful works of art.
Using needles and thread to create art has a long history. Hundreds of years ago in medieval Europe, the walls of all the rich houses were adorned with large tapestries featuring beautiful images.
Some of them made up a large picture from hundreds of parts. These thread works of art told great stories and were called tapestries. One famous example of this type of art is the "Bayeux Tapestry". Over 70 meters long, it depicts the Norman conquest of England. Its main figure is William the Conqueror.
Tapestries were valuable works of art because they could be easily moved and displayed in many places. They can also be embedded in pillows, blankets, and chairs. Furthermore, many different colors of thread can be used in tapestries.
Threads can also be mixed and layered in three dimensions. These unique characteristics make them look original and distinct from any other form of art. When displayed in different lights, their colors and textures can take on different qualities from various angles.
Tapestries can be as intriguing as any painting. Yet drawing with thread is not an easy task. After all, you can’t just erase a mistake!
Thread artists are very skilled in using their tools – needles, thread, string, yarn to create drawings. Many of them look as though they could have been drawn with a pencil.
Some thread artists have even taken creativity to a whole new level. Toronto artist Amanda McCavour creates thread drawings that seem to float in the air. How does she do it? She uses a fabric that dissolves in water.
After she creates her tapestry exactly as she wants it, she dissolves the fabric, leaving a drawing made only of thread suspended in the air! Have you ever seen a tapestry? Do you want to create your own thread art? It’s never too late to start practicing a new craft.
What should we know about cotton yarn?
Every yarn has its positives and negatives, and cotton is no exception. There is no right or wrong choice of yarn. It’s important to know more about the materials and their properties so we can determine what’s important to us and how to benefit from them.
Here is some more information about cotton and its characteristics
Undeniable advantages:
- Durability - a characteristic that makes it a great choice for making accessories.
- Absorbs moisture and is stronger when wet, eliminating worries about washing.
- Absorbs dyes easily, especially when mercerized. Mercerizing is a chemical process that adds shine and softens cotton. Mercerized cotton is stronger and doesn’t shrink as much.
- When cotton is combined with other fibers, garments are more breathable and durable.
- Cotton is soft and pleasant to touch.
- Soft cotton yarns create even stitches.
Another perspective:
- Cotton is not elastic and therefore does not “bounce back” to its original shape like wool. Consequently, it may stretch after long use. However, high-quality cotton usually returns to shape after washing.
- When we talk about its moisture absorption property, the downside is that it becomes heavier and sometimes takes longer to dry.
- Conventional methods of growing cotton use pesticides, as well as a lot of energy and water. Simultaneously, sustainable and eco-friendly production processes also exist.
What is the best cotton yarn?
Cotton is a relatively inexpensive material, but it is definitely worth considering high-quality cotton such as Pima, Egyptian, or Creole cotton. The difference between them is their geographical location. There are also yarns made of mercerized and organic cotton.
What to knit?
Due to its absorption properties, softness, vibrant colors, and easy maintenance, cotton is an ideal choice for many crochet and knitting projects.
At home
Cotton yarn is great for knitting household items such as towels, rugs, pillows, market bags, dishcloths, pot holders, and more.
Baby
Cotton is an excellent choice for babies as it is easy to care for, soft, and available in bright colors: baby blankets, clothes, booties are some of the knits you can make for the most delicate creatures :)
Wardrobe
If you knit clothes for spring, summer, or early autumn, consider using cotton yarn. It is soft, breathable, and wicks moisture away from the body.;
For the backpack, for a keychain... fun yarn monsters
Do you want to decorate your child’s school backpack in a unique way or make a keychain with your best friend or family so everyone can recognize each other from afar? And no one else will have exactly the same! Or create something fun and different while wondering what to do.
You will need only:
- Yarn (colors of your choice)
- Cardboard
- Scissors
- Glue
- Jewelry wire
Here’s exactly how to make the monsters:
- Cut a piece of cardboard so that it forms a rectangle. Then wrap yarn around it. Make sure it covers the middle of the cardboard from top to bottom and is tightly wound, but at least three fingers wide. At least 10 full wraps will be needed for this purpose. When you finish wrapping, cut the end of the yarn and tuck it in to secure.
- At the top, under the yarn, insert the jewelry wire so it comes out on both sides of the wrapped yarn. Wrap the two ends over the yarn and twist them. This will secure them and create great horns for your future monster.
- Then carefully remove the yarn from the cardboard, trying to keep it wrapped. You can loosen it a little, but do not unwrap it. Then cut a small piece of yarn of the same color and tie it at the top of the wrapped yarn to create a head.
- The next step is to cut the bottom part of the yarn so it’s no longer wrapped and forms many separate ends. If some are longer, trim them. Now glue craft eyes or an eye onto your monster. You can make a small mouth by tying a red yarn or thread into a knot near the head. Bend the ends of the decorative wire in different ways for different looking monsters.
- That’s it! Now add a metal keyring and you’re ready to hang your monster on your backpack or keys. And remember - it’s so fun that we guarantee you won’t make just one, so think about who you’ll gift the others to!
Beautiful card with a little yarn and a lot of love
You’ve probably heard that February is called Little Sechko. But it’s also called the month of love. This is because February 14th is celebrated as Valentine’s Day. On this date, lovers express their love for each other by sending greeting cards, candies, hearts.
It is customary to give flowers. The name of the holiday comes from one of two Christian martyrs named Valentine who lived in the 3rd century. Initially an old Roman Catholic holiday, it began to be associated with romantic love during the Middle Ages.
On this day, as early as the 14th century, it became a tradition to exchange love messages in the form of so-called valentines. Although the holiday is traditionally considered for romantic couples, we also suggest a fun valentine idea that you can make and give to your parents or best friend, or even to the boy or girl at school you like.
Sweet and fun to make! This beautiful card is very easy to make, requires very few materials, but is sweet and you can give it to anyone you feel affection or respect for.
Get cardstock, scissors, glue, and red or pink yarn. We offer yarn with several shades of red and pink, making it even more beautiful.
Are you ready to create?
- First, you need to unwind some yarn. There’s no exact amount, but let’s say a large length as long as your entire arm will do.
- Then cut it. Fold it into a bundle and cut it into smaller pieces. Then set it aside - you’ll need it again a bit later.
- The next step is to fold the cardstock into three equal squares. Leave the first and last blank, and cut a large heart in the second one. It will be easier if you first outline it with a pencil and then follow the lines.
- Then glue the inside of the first square and stick the yarn bundles closely together. Press them firmly with your hand and make sure they are not tangled but tightly stretched next to each other. Let it dry for about 2-3 minutes.
- Then it’s easy – think of a nice message, write it inside the third square, and your sweet valentine is ready to spread love!
String art - a different and interesting decoration technique
Art created with a hammer, nails, and colorful threads, cords, and yarns. If you haven’t seen string art before, you’ll be surprised at how interesting this technique is. You can create interesting ornaments, panels, jewelry, paintings with it.
String art involves stretching colorful thread. It is passed between nails driven in the desired outlines. Besides yarn, a hammer, and nails, you need skill to create string art pieces.
If you don’t feel qualified for this work, start with something easy – simply practice running the colored strings around the nails outlining your drawing. The effect is achieved by the play of lines and colors, through the crossing of threads. You’ll need a wooden board to drive the nails into. Some use ordinary nails, others prefer ones with larger heads so the yarn doesn’t slip and can be wrapped more easily around them.
First, draw the figure you want to create on paper. You can also use ready-made templates. Then choose wool or cotton yarn in the colors needed for the picture. Place the drawing or template on the wooden board and start gradually driving the nails as close together as possible to avoid too much empty space.
The distance should be between half and one centimeter. Try to drive the nails to the same height. Then you can start winding the threads. You can do it sequentially or randomly. It’s best to follow the outlines of the image, wrapping each nail head.
Each of us is exposed to different stresses daily: at work, at home, in the family. Thread weaving has a calming effect on the psyche, and this form of art is included in the list of art therapy techniques.
Therefore, as a result of doing crafts in this style, you will not only receive immense aesthetic pleasure, but also have a beneficial effect on your emotional health!
To practice skills, you can draw a right angle on paper, (with sides 10 and 5 centimeters long). Divide the long side into 10 equal parts of 1 centimeter and number each one.
Divide the short side into 10 smaller parts and also number them. This way you’ll prepare a mini diagram. Then start working with yarn, cord, or thread by moving them from one point to another.
How to change the thread color?
When you start winding the yarn around the nails, tie the first thread to the first nail and start winding. When you need to change this thread to a different color, remember to tie a knot on the nail, thereby securing the created pattern. Then do the same with the new thread: knot at the start, knot at the end. When you’re done, don’t forget to carefully cut and hide the excess.

