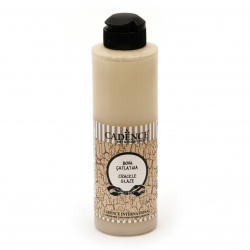
Structural Pastes and Waxes for Creative Projects

Paverpol Transparent Textile Hardener for Sculptures - 500 g

CADENCE BLENDING GEL 70 ml

CADENCE Mirror Effect Spray Paint 150 ml

DRY Thickening Medium for EBRU Technique - TRAGACANTH CADENCE 45 ml
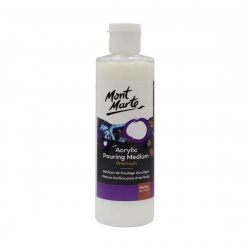
Mont Marte Acrylic Pouring Medium - 240 ml
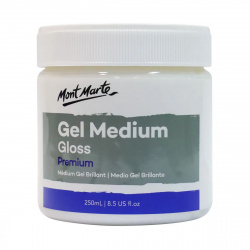
Mont Marte Gloss Gel Medium 250 ml
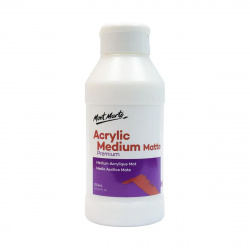
Mont Marte Matte Acrylic Medium 250 ml
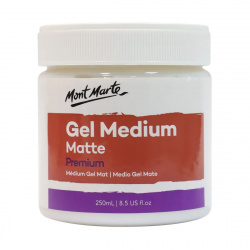
Gel medium Mont Marte matte 250 ml
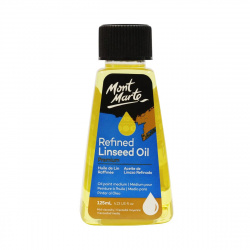
Refined Linseed Oil Premium MONT MARTE - 125 ml
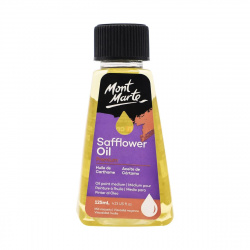
Safflower Oil Premium MONT MARTE, Oil Paint Medium / 125 ml
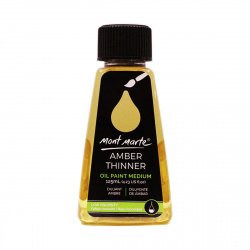
MM Amber Thinner Natural Premium for Oil Paint, 125 ml
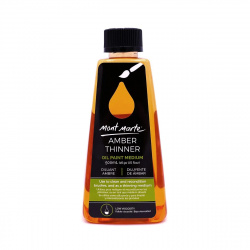
MM Oil Medium Amber Thinner Natural Premium 500 ml
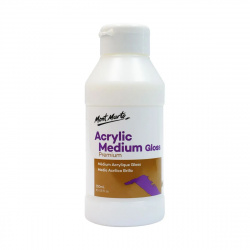
Mont Marte Gloss Acrylic Medium 250 ml
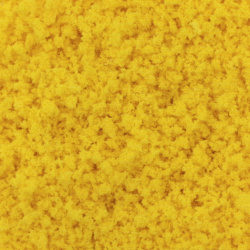
Artificial Powder for 3D Micro-Landscape / Construction Sand for Trees and Flowers / for Embedding in Epoxy Resin, Yellow Color - 5 grams
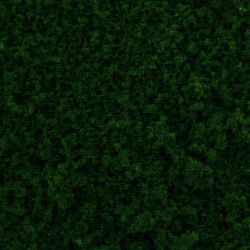
Artificial Grass / Powder for 3D Micro-Landscape / Construction Sand Table for Terrain / for Embedding in Epoxy Resin, Dark Green Color - 5 grams
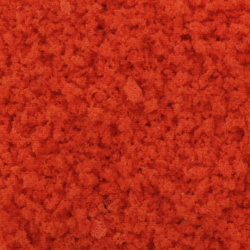
Artificial Powder for 3D Micro-Landscape / Construction Sand for Trees and Flowers / for Embedding in Epoxy Resin, Orange Color - 5 grams
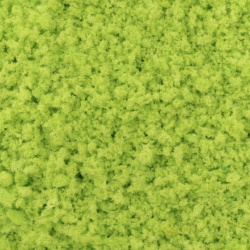
Artificial Powder for 3D Micro-Landscape / Construction Sand for Trees and Flowers / for Embedding in Epoxy Resin, Fresh Green Color - 5 grams
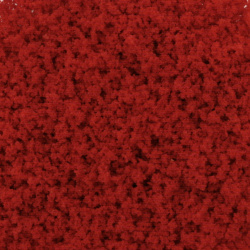
Artificial Powder for 3D Micro-Landscape / Construction Sand for Trees and Flowers / for Embedding in Epoxy Resin, Red Color - 5 grams
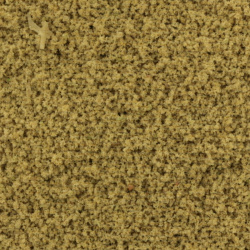
Artificial Grass / Powder for 3D Micro-Landscape / Sand Table for Terrain Building / for Embedding in Epoxy Resin, Sand Ochre Color - 5 Grams
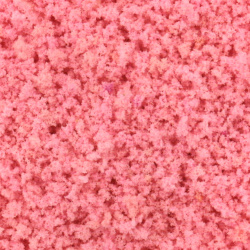
Artificial Powder for 3D Micro-Landscape / Construction Sand for Trees and Flowers / for Embedding in Epoxy Resin, Pink Color - 5 grams
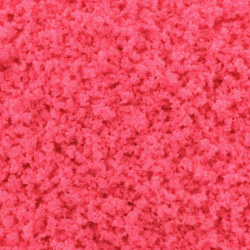
Artificial Powder for 3D Micro-Landscape / Construction Sand Table for Trees and Flowers / for Embedding in Epoxy Resin, Pink-Red Color - 5 Grams
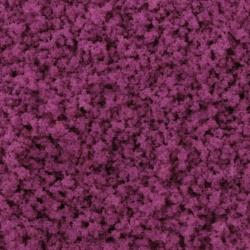
Artificial Powder for 3D Micro-Landscape / Construction Sand for Trees and Flowers / for Embedding in Epoxy Resin, Purple Color - 5 grams
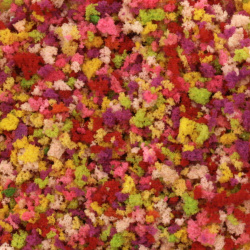
Artificial Powder for 3D Micro-Landscape / Construction Sand for Trees and Flowers / for Embedding in Epoxy Resin, Multicolor - 5 grams
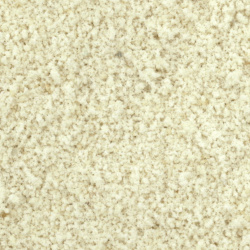
Artificial Grass / Powder for 3D Micro-Landscape / Construction Sand Table Terrain / for Embedding in Epoxy Resin, White Color - 5 Grams
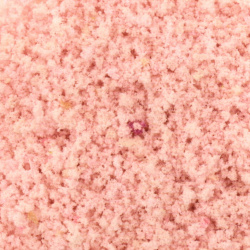
Artificial Powder for 3D Micro-Landscape / Construction Sand for Trees and Flowers / for Embedding in Epoxy Resin, Light Pink Color - 5 grams
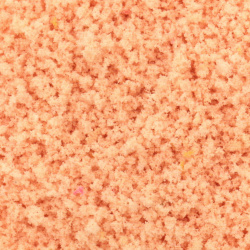
Artificial Powder for 3D Micro-Landscape / Construction Sand for Trees and Flowers / for Embedding in Epoxy Resin, Peach Color - 5 grams
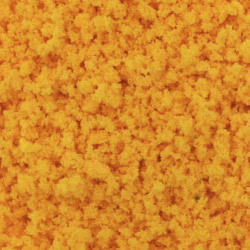
Artificial Powder for 3D Micro-Landscape / Construction Sand for Trees and Flowers / for Embedding in Epoxy Resin, Yellow-Orange Color - 5 grams
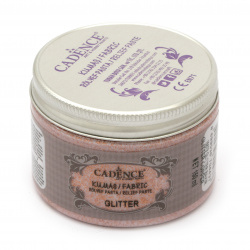
Relief glitter paste for textiles CADENCE GLITTER 150 ml -copper 15879
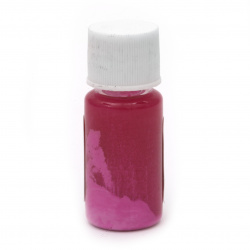
Colorant (Pigment) for Resin for Frost Effect on Alcohol-Based in the Color Cyclamen - 10 ml
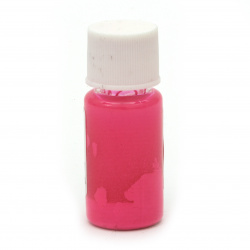
Fluorescent Colorant (Pigment) for Resin for Frost Effect on Alcohol-Based in the Color Pink - 10 ml
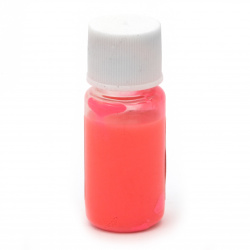
Fluorescent Colorant (Pigment) for Resin for Frost Effect on Alcohol-Based in the Color Orange-Pink - 10 ml
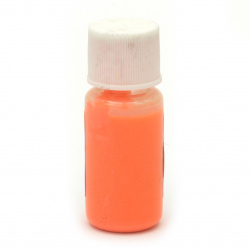
Fluorescent Colorant (Pigment) for Resin for Frost Effect on Alcohol-Based in the Color Orange - 10 ml
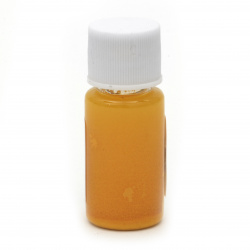
Colorant (Pigment) for Resin for Frost Effect on Alcohol-Based in the Light Orange Color - 10 ml
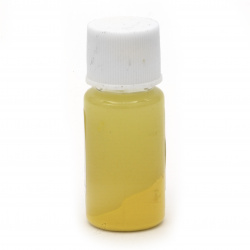
Colorant (Pigment) for Resin for Frost Effect on Alcohol-Based in the Lemon Yellow Color - 10 ml
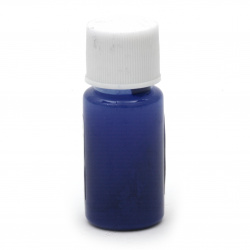
Colorant (Pigment) for Resin for Frost Effect on Alcohol-Based in Ultramarine Color - 10 ml
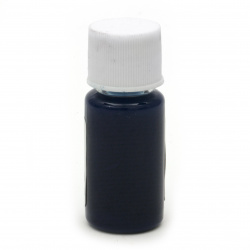
Colorant (Pigment) for Resin for Frost Effect on Alcohol-Based in Dark Turquoise Color - 10 ml
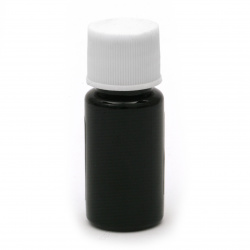
Colorant (Pigment) for Resin for Frost Effect on Alcohol-Based in Violet Color - 10 ml
Curious Details and Inspiration for Structural Pastes and Waxes
In this category, we briefly present to you some of the wide variety of products for creative projects that we offer, including various:
- structural pastes and waxes
- primers
- varnishes
- effect materials, casting materials, and many more.
Information on Effect Materials
Among them stand out several products, including:
- Spray paint for mirror effect – It is most often applied to glass surfaces to achieve a mirror transparent effect. The interesting thing about this type of paint is that it is alcohol-based and therefore dries quite quickly.
- Glass matting gel – This is a special cream for decorative purposes, whose unique formula creates engraved effects on various mirrors and glass.
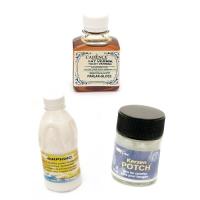
- Gold leaf adhesive – This is a common adhesive often used in decoupage techniques to achieve the desired effect.
Of course, gold leaf is added when the adhesive is completely dry because then it becomes sticky and transparent, making it easier for the gold leaf to adhere.
All of the above effect materials have numerous applications, which you can learn more about by visiting the category.
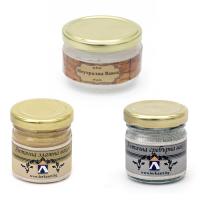
Decorative Waxes
Decorative or antique waxes are most often used in decoupage techniques to age an item.
If you add a small amount of turpentine to them, they can also be used for gilding objects or projects, as they create wonderful metallic reflections imitating different metals like silver and gold.
How to Easily Apply Decorative Waxes?
- First and very important, use a quality brush.
- Make sure you have enough antique wax to complete the project.
- Be careful with the amount of wax you apply because if you apply too little, it will absorb like cream and the desired effect will not be achieved, and if you apply too much, the effect will be a sticky surface that will take a long time to dry completely.
- However, when it is completely dry, carefully examine every part and every corner, and if you notice dry spots, apply another layer.
- For the final touch, use an old t-shirt to remove excess wax, making sure it is not wrinkled while doing so, as this will affect the decoration of your item.
- Don’t limit yourself to using only clear wax. Instead, experiment with all the colors available on the market. You can even mix different colors to create your own.
- When you start applying decorative wax, start the process from the edge of the object or if it is something with legs like a table or chair, start from one leg, then simply remove the excess wax and continue with the other parts.
- Finally, let the decorated item dry for at least 24 hours and then wipe it again with a lint-free cloth or brush. For this purpose, you can use a buffing brush.
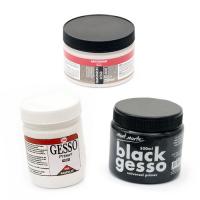
Primers for Mixed Media and Decoration
Primer is a type of material applied with a brush or spatula to the base of a painting such as:
- board
- canvas
- parchment
- paper
- metal and others, to better apply the paints on a smooth surface
The main function of the primer is more technological. It needs to be strong and durable, and the painting layer applied over it should adhere well. The primer can also have an artistic-aesthetic function, when, for example, it is engraved or has a relief surface.
Wide Range of Casting Materials
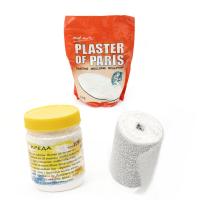
Among them are marble, gypsum, chalk, liquid stone, and silicone. Each of these materials has its interesting history and many applications. Now let’s take a closer look at chalk.
Most people, when they hear "chalk", immediately think of the small piece of chalk used for tailoring purposes. Besides this widely known type, there are also a few other types of chalk used for similar purposes. These are oil chalk, wax chalk, and the first one mentioned is dry chalk.
Oil chalk is made from a special pigment of linseed oil, which is carefully pressed beforehand. Dry chalk is made similarly, but no oil is used.
Wax chalk, on the other hand, is based on one of the highest quality waxes and pigment. Additionally, chalk is divided by another criterion: it can be hard or soft. More binding substance is used for the production of the first type, while the second one is mainly composed of pure pigment with very little binding substance.
What is Liquid Stone and How to Work with It?
Liquid stone has the ability to be easily cast into different shapes and, most importantly, it has very easy subsequent processing. The material allows for drilling, cutting, and shaping with standard tools.
It has suitable density and strength, which increases over time. It can be colored and processed with various products. It is usually used for casting into molds and arbitrary shapes.
How to Properly Work with Liquid Stone?
- First, pour 180 milliliters of water into a container and add 500 grams of the liquid stone mix. Stir thoroughly until you get a homogeneous mixture. Then let it sit for about 5 minutes to thicken slightly, and then stir it again. Soon you will see the liquid stone start to relax and liquefy. Pour the ready mix into a pre-prepared mold.
- To make it easier to release, it is advisable to grease the mold slightly or cover it with foil, plastic, or other easily detachable covers.
- Depending on the room temperature, the mold will gradually gain strength. After about 24 hours, check the mold, and if it has gained strength, you can remove it. If the material is still soft, leave it for another 12-24 hours depending on the temperature.
- Nevertheless, you can start processing the visible and accessible parts. It will still be quite soft but will cut, drill, and process with suitable tools – chisels, files for metal, wood, and others. Over time, the strength increases, and the processing becomes more difficult. Full strength is achieved after 20 days.
- Finally, it is advisable to cover the finished mold with a primer, and if you wish, you can decorate it with all the means of decoupage. You can add acrylic matte or gloss to the mix to give it the desired color.
- And last but not least – do not forget to clean all the used tools. This is easiest done with warm water.
What Are Pastes for Decoupage and Decoration?
Pastes, like waxes, can also be used in decoupage techniques to age items and give them a vintage effect.
Their applications are endless. They can be applied to various surfaces with a small cloth or brush, with their main purpose and application being for patination on already decorated surfaces. They can also be used for the restoration of old furniture, frames, and others, with some of them being applicable with fingers.
Another interesting idea is to dilute them with turpentine and use them for gilding, as they create an incredible metallic imitation of gold and silver. For the base of decoupage paste decoration, any well-cleaned surface can be used, and porous surfaces are recommended to be primed first.
Applying the paste should be done in one layer, where in the first layer of application, figures can be made with different tools. It is good for the figures not to be too thick.
After the first layer is completely dry, apply the second, which is more filling. Again, let it dry well, and then polish it with a wool cloth or metal tool.
During work, the products do not release toxic substances, and the brushes and tools can be cleaned with water.
What Are Varnishes and Additives for Acrylic and Decoupage?
Acrylic varnishes are special acrylic resins in the form of a water dispersion. Their milky white color changes during drying, turning into an elastic transparent film with a glossy effect.
Another interesting and very useful product is the professional medium, which allows for easy regulation of the state of the acrylic paint such as thickness, consistency, or fluidity.
In addition to acrylic varnishes, here on our website, you will find many other additives for acrylic and decoupage such as:
- colorants for resin in the form of fine glitter or powder
- spray fixatives for pencils
- pastels or graphite
- decoupage glue-lacquer
- aerosol acrylic varnishes
- solvent-based yacht varnishes
- two-component varnishes
- delayers for acrylic, chalk
- softeners for polymer clays
- thinners
- hygienic gels for hands and many others.
The Philosophy Behind Varnishing an Acrylic Painting
If you are going to use a new type of varnish, it is advisable to first do a small test on a piece of canvas or painted wood to ensure that you like the final result. This is mandatory, especially if you will be adding an isolation layer, as it and the varnish could easily change the final appearance of the painting. To test both the isolation layer and the varnish, first apply them to a small painting with colors similar to the actual painting.
- Start by placing the painting in a horizontal position while varnishing and letting it dry afterward. If you varnish it while it is hanging on the wall, the varnish may start to drip down the canvas and stain the floor.
There is a high chance that the varnish will start to drip from the sides of the painting and once dry, it will stick to the surface. Therefore, it is good to place a wooden board or other support under the painting before you start varnishing.
- The next step is to dip the brush in the varnish, then carefully tap off the excess varnish. Hold the brush at an angle and apply the product with light and even strokes across the painting, moving the brush in the same direction.
- When you’re done, look at the surface of the painting at an angle; if there are parts that are not shiny and wet, carefully add a little more varnish.
- Finally, let the painting dry for a few hours, according to the time indicated on the packaging. Sometimes the varnish does not cover evenly the first time, so you can reapply if desired.
- After finishing, thoroughly clean the brush and store it in a safe place where there is no dust.
How Many Types of Crackling Varnishes for Decoration Are There and What Are They Used For?
Crackling varnishes for decoration are divided into two types: one-step and two-step (these are crackle varnishes in two steps). The different names of crackle varnishes come from their application method.
One-step varnishes are characterized by being applied only once between two completely contrasting acrylic paint colors, and they only crack the top layer, or in other words, they are used to crack the acrylic paint applied over them.
With two-step varnishes, the cracking occurs after the sequential application of the crackle varnishes respectively "Step 1" and "Step 2", and the cracks that appear are usually filled with powder, patina, pigments, or oil paints. They are used to create cracked surfaces on paintings, decoupage, or other decorations as a final touch.
To emphasize and enhance the effect of the cracks, you can use antique paste.
After achieving the desired crackle effect with crackle varnishes, it is highly recommended to add a final top coat to protect your project from unwanted external influences and prevent damage in the future.
Note that before applying each layer of crackle varnish and paint, it is necessary to wait for the previous layer to dry completely. If you want to achieve the effect of straight and horizontal cracks, apply the crackle and paint in the same direction; if the goal is network cracks, apply them in opposite directions.
Crackling mediums and varnishes can be applied to various surfaces depending on their type, such as: wood, glass, ceramics, and other surfaces that are pre-decorated (e.g., decoupage, coloring, priming, etc.).
They also find wide application in various techniques such as: decoupage, painting, scrapbooking, mixed media, as well as decoration of various objects, and generally for the realization and materialization of any of your ideas or projects.
Finally, we note that all the above-mentioned products fully comply with all atmospheric emission requirements and are safe for the environment.

